Downloadable Documents
If you’re looking for something that’s not outlined in our support documents, feel free to contact us and we are happy to assist.
- CB2-RK Install Guide
- Preventative Maintenance Schedule
- 2018 Cylinder Adjustment
- Wire Form Adjustment
- Auto Lid Installation - 2018
- 2018 Drive Training Instructions
- 1st Lid CB1-AMP-R (Primary) / CB1-AMP-RS (Secondary) Wiring
- Layout for Power Connection on RMC CB1-AMP-R
- Wiring Schematic for RMC Remote Cab Switch
- RMC Cab Switch Wiring Schematic for California
Video Guides / Hands On
Sometimes you just have to see it. This is why we created a few videos to help you out and walk you through a few things.
2018 Auto Lid Installation
2018 Cylinder Adjustment
Auto Lid Installation
Auto Lid Installation Spanish
Auto Lid Maintenance
Auto Lid Maintenance - Spanish
Ordering Auto Lids
Ordering Auto Lids - Spanish
Resurfacing Tool
Resurfacing Tool - Spanish
Quick Troubleshooting Guides and Tips
Having an issue, or just a question about your Automated Lid System? These troubleshooting steps may help. If not, please contact us so we can assist.
a. Make sure the air bag is deflating (See question 2.)
b. Is air going to the green line
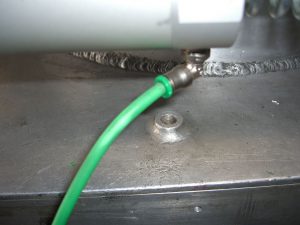
c. Check for airline kinks
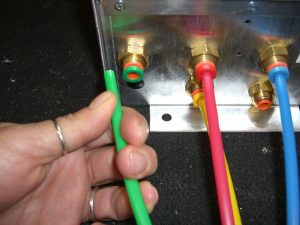
d. Check your wire form gaps
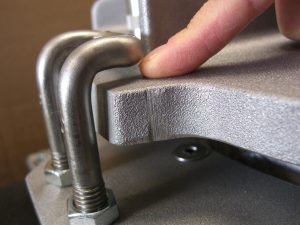
e. Is lid cover dragging
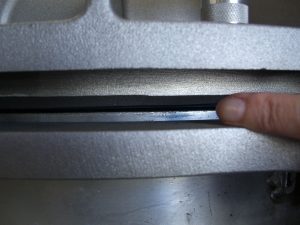
f. Check pivot shaft lock nut – lid top should not be loose
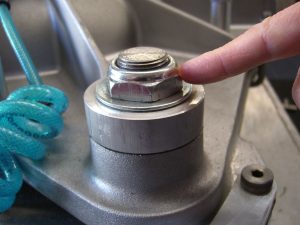
g. Check for dirty air, ie. oil or water in green air line
a. Check push pull valve
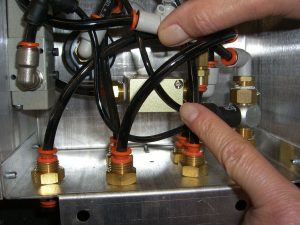
b. Check pilot valve
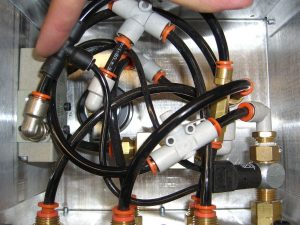
c. Check one way valve
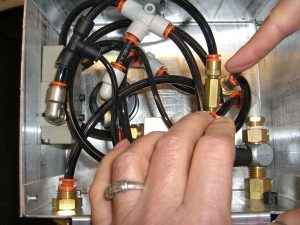
a. Check that there is air to the black line
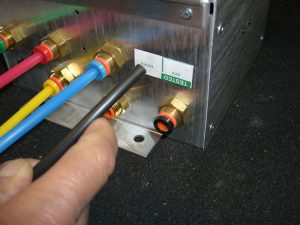
b. Check for dirty air, i.e. water or oil in the black line
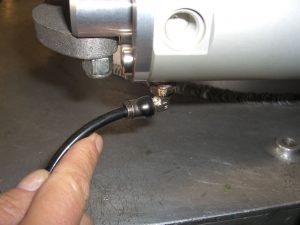
c. Check wire form gaps
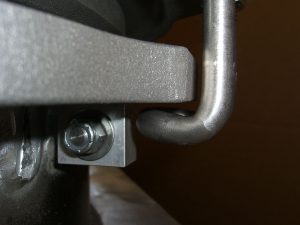
d. Lid cover dragging/check lock nut on pivot shaft- lid top should not be loose, but do not over tighten
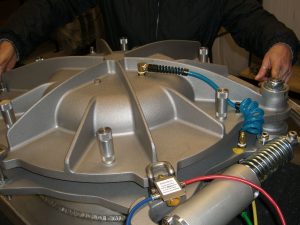
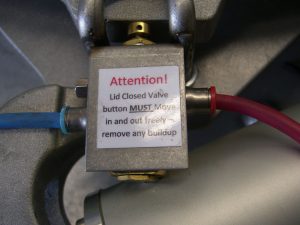
a. Check lid close valve/make sure lid close button is completely depressed
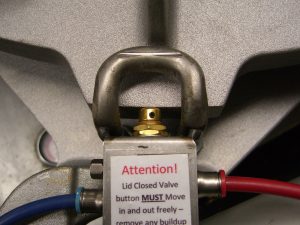
b. Check inside control box for any air leads/pilot valve, low pressure sensor
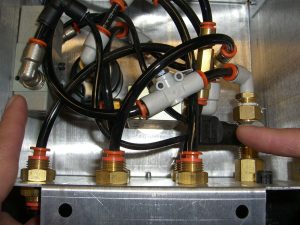
c. Check yellow line for kinks

d. Check for blow by on lid cylinder
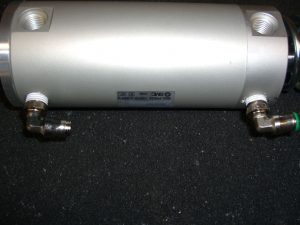
a. Check for dirty air in black or green airline, i.e. water or oil in air line
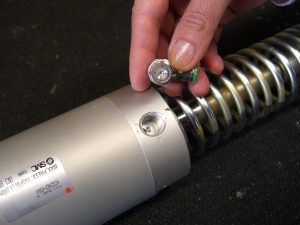
b. Check for proper wire form gap

c. Check for lid cover dragging
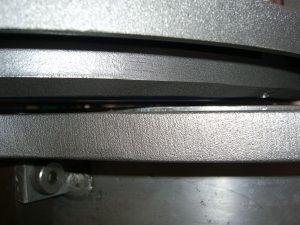
d. Brand new lids may drag because of stiff airbag/airbag will become more pliable
a. Check the restrictor fitting to insure restrictor has not worked loose
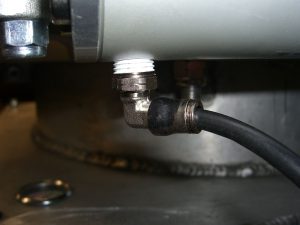
a. Check pilot valve
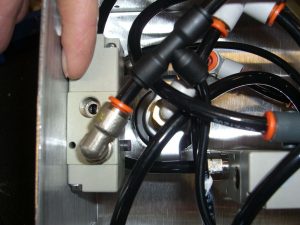
b. Check low pressure sensor
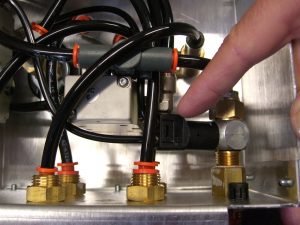
c. Check for loose airline connection on all quick connects in control box
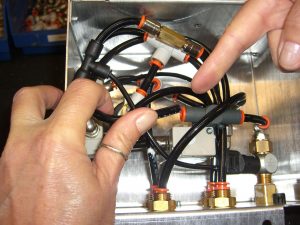
a. Check wire form gaps
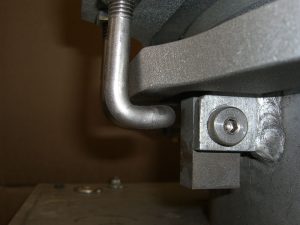
b. Check gap between bottom of cover and top of manhole ring (see question 10)
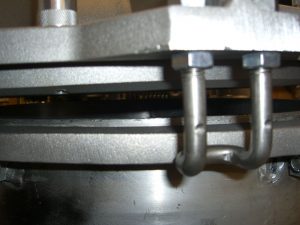
c. Check that spring holders are not bottomed out
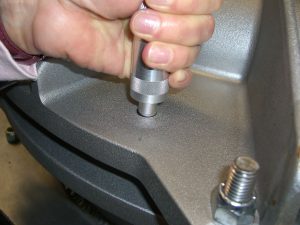
d. Check condition on manhole ring for flatness and roundness
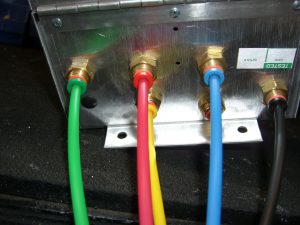
a. Looking at the front of the control box the row of connectors nearest the front, left to right; green, red, blue – second row, yellow, orange – air in connector (no cap) black
On the lid itself: Lid close valve – blue left, red right
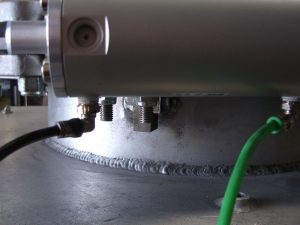
Lid open close cylinder – rear port black, rod port green
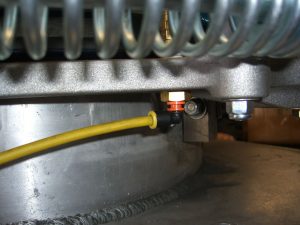
Coiled airline – yellow
b. If supply line is black make sure it is not confused with bundled black color coded line
a. We recommend a uniform gap of 1/8″ for all wire forms
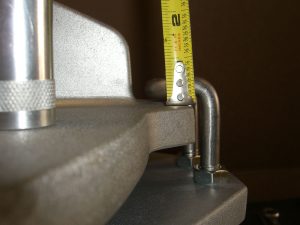
a. The gap should be from 1/4 to 1/2 inch as uniform as possible

b. To increase or decrease the gap opposite the pivot shaft, tighten or loosen the large lock nut on top of pivot shaft – lid top should not have too much play
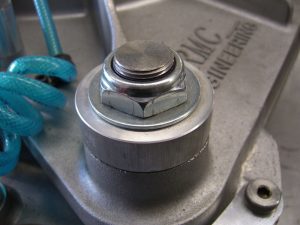
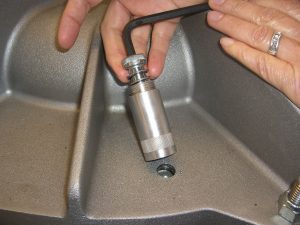
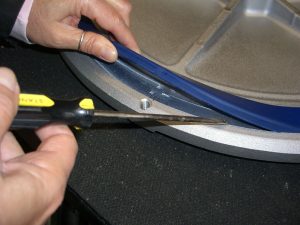
a. Remove all 6 spring holders on top of lid, slide cover out, remove old gasket (pry out with flathead screw driver), insert new gasket, slide cover back under lid top and position over manhole ring, replace spring holders, springs, shoulder bolds and caps**3 photos

a. The maintenance switch is designed to disable the lid for maintenance. When engaged it will exhaust all air between the control box and lid.
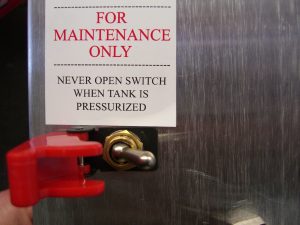
b. The correct procedure to operate the maintenance switch is to pull the push pull valve to the open position, then flip the maintenance switch; the lid will slowly close via compression spring and be disabled. Your lid is now safe for routine maintenance.*After you have completed all maintenance procedures, return the toggle switch to its original position before closing the red safety cover. IF THE TOGGLE IS NOT RETURNED TO ITS ORIGINAL POSITION THE LID WILL NOT OPERATE!
We do not recommend using any oil or alcohol based spray lubricants (i.e. WD 40)
a. Insure the button moves in and out freely

b. Only Veloplex High Performance Lubricating wax is recommended

c. Make sure button shaft is free of any material build up